Set it up in the theme editor
Open the theme editor
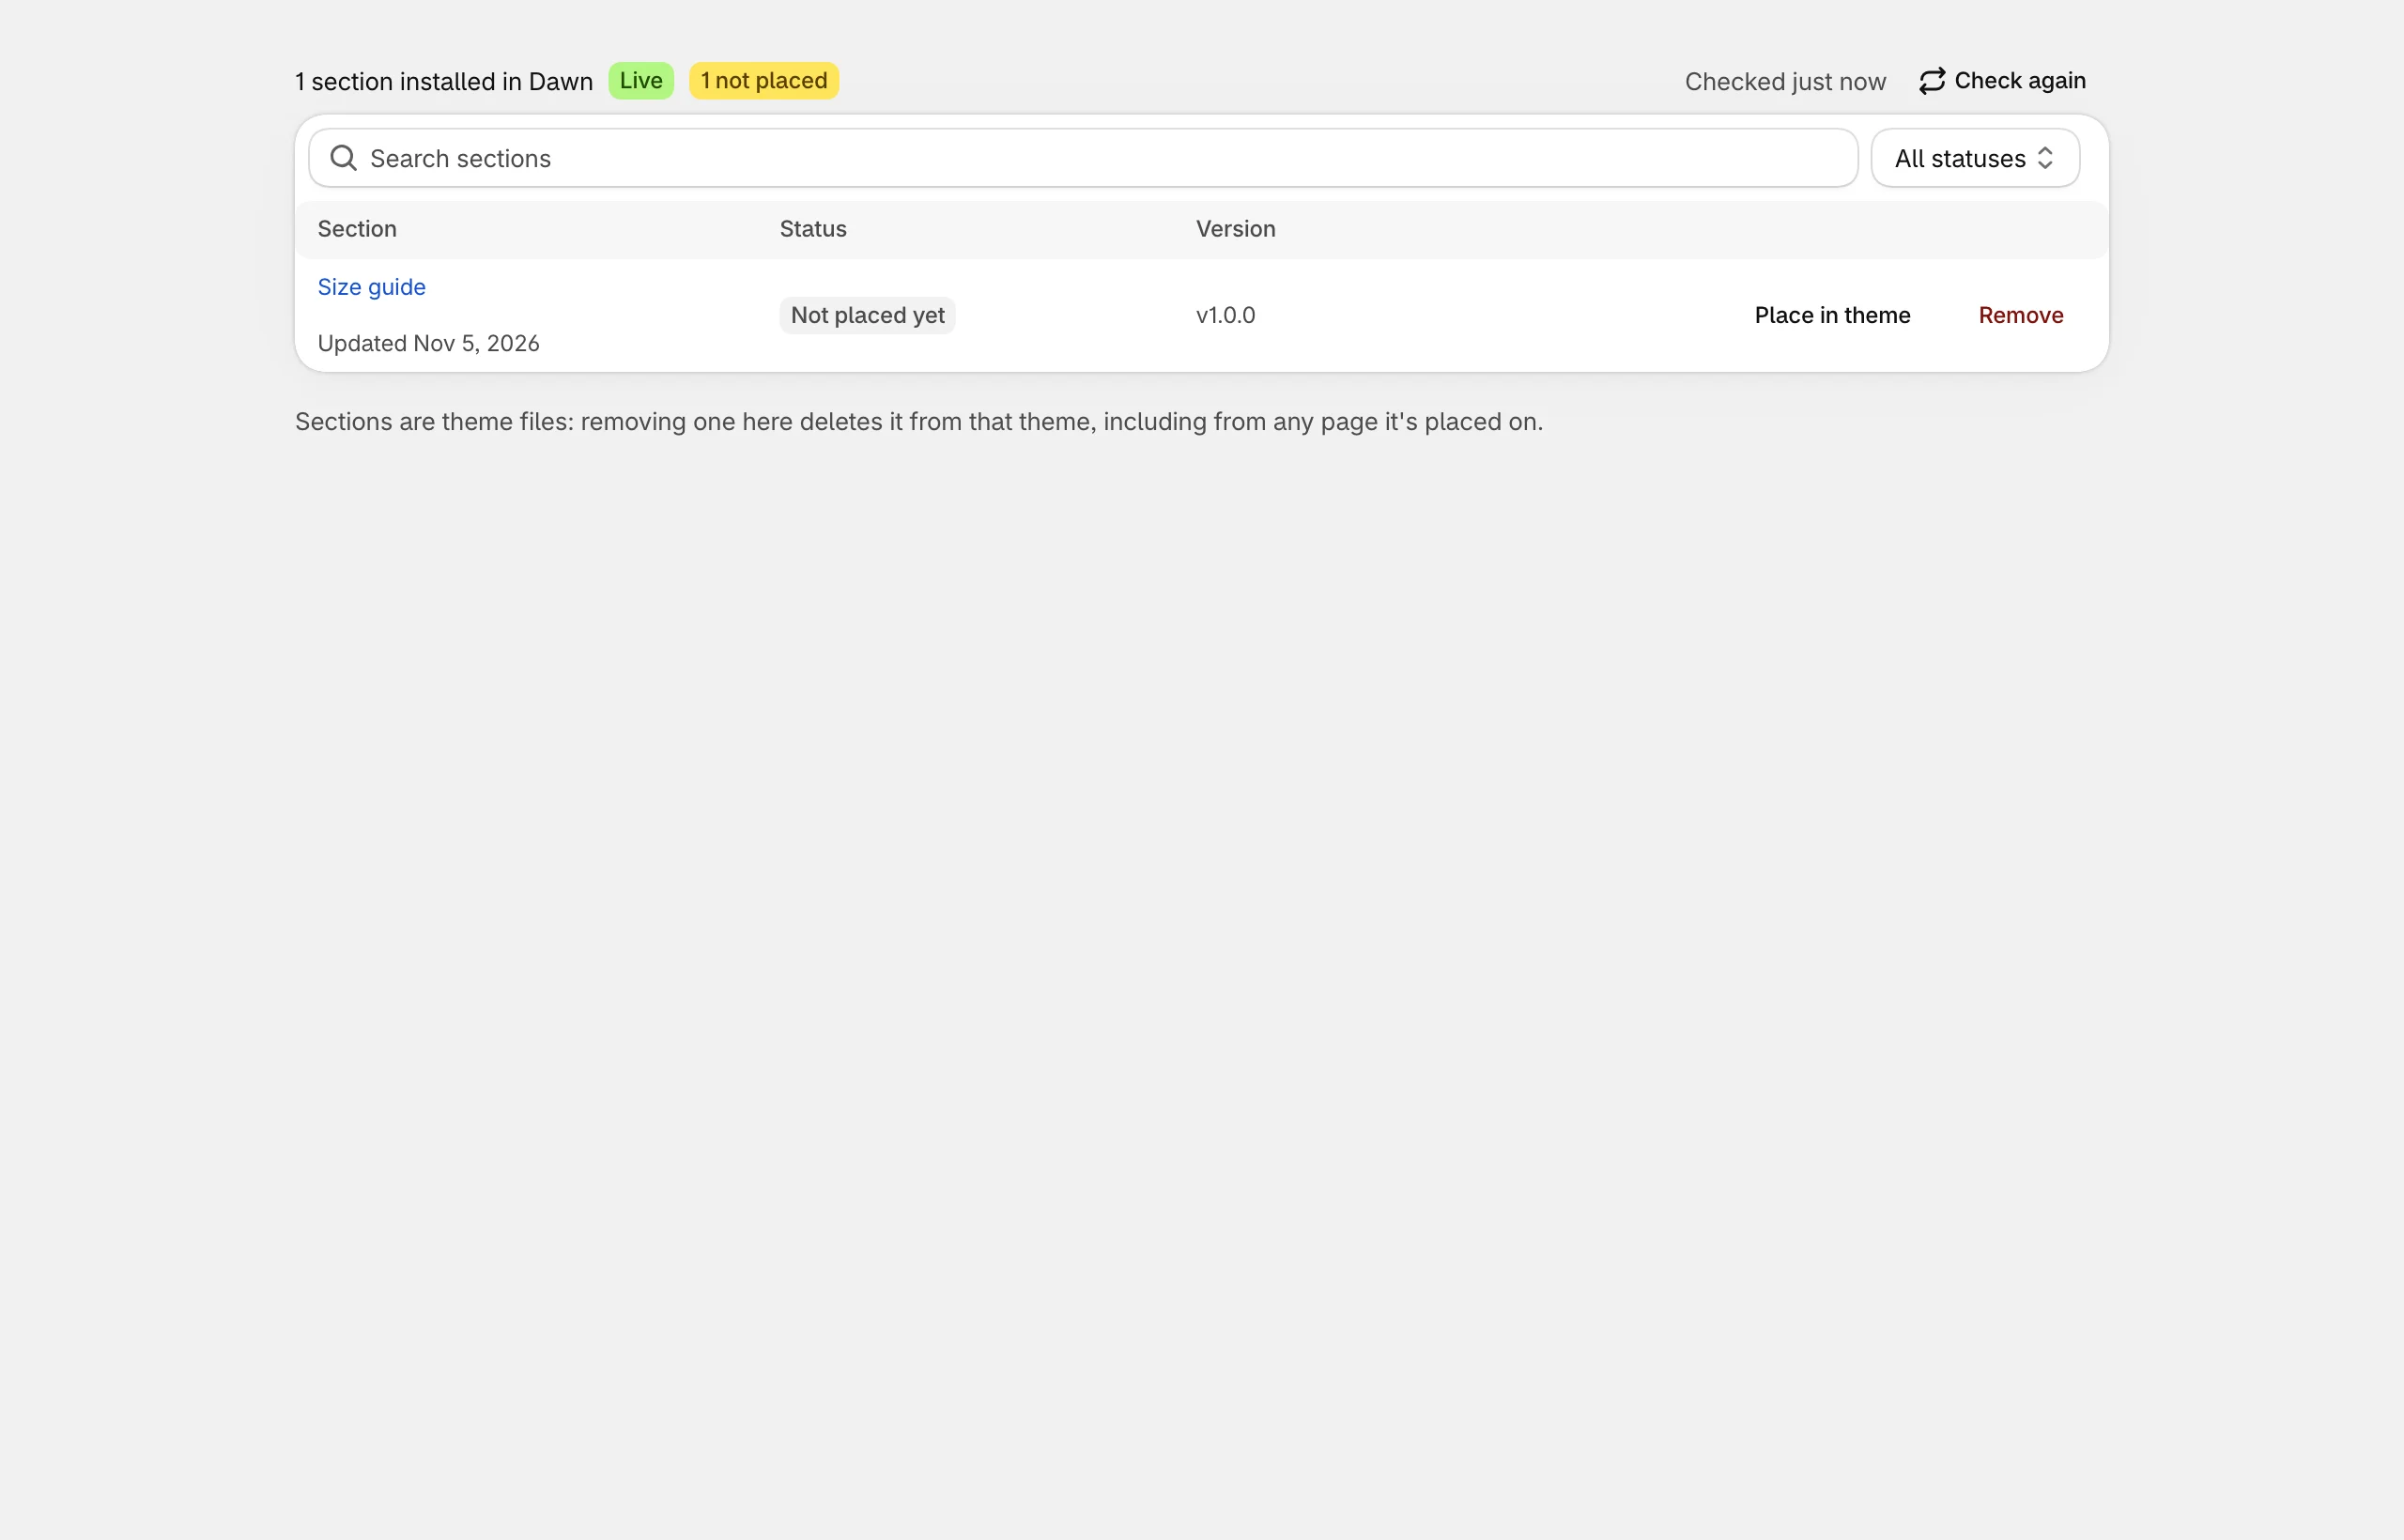
In the app, open Installed and choose Customize (or Place in theme) next to the section. It opens the theme editor on a page the section can go on. You can also go to Online Store → Themes → Customize in your Shopify admin.
Choose the page
Use the page selector at the top of the theme editor to pick the template: the home page, a product page, a collection, a page and so on. A section only appears on the page types it supports; each section’s page in this manual tells you which.
Add the section
Select Add section and pick it from the Section Universe group. Section Universe sections are named with SU: in front, for example SU: Size guide, so they’re easy to find. Drag it to where you want it on the page.
Fill in your content
Select the section to open its settings. It starts with sample text and empty pictures: add your own images, headings, products and links. Sections with repeated items (reviews, questions, size tables…) use blocks: choose Add block inside the section and drag blocks to reorder them.
Notes with a dashed border, starting Theme editor only, explain what a section needs. Shoppers never see them.
Save and publish
Select Save. If you worked in a theme that isn’t live, publish it when you’re ready. Installed shows where each section is placed.
Every section has the same heading and style settings at the top and bottom: see Settings every section has.
Using a section more than once
Add the same section to as many pages as you like, or several times on one page. Each copy has its own settings.